
I've recently participated in the CatTheQuest CTF and stumbled upon a game challenge. It was the Game Boy, a handheld game console developed by Nintendo. I didn't know much about ROM Hacking generally. And this challenge was the opportunity to learn and apply the Game boy ROM hacks.
So what's a ROM Hack?
ROM hack is the process of altering game bytes to do some fun stuff. For instance, you can make your own custom Super Mario world by editing tiles, backgrounds, item sprites and much more. You can use the YY-CHR tool for graphics modification.
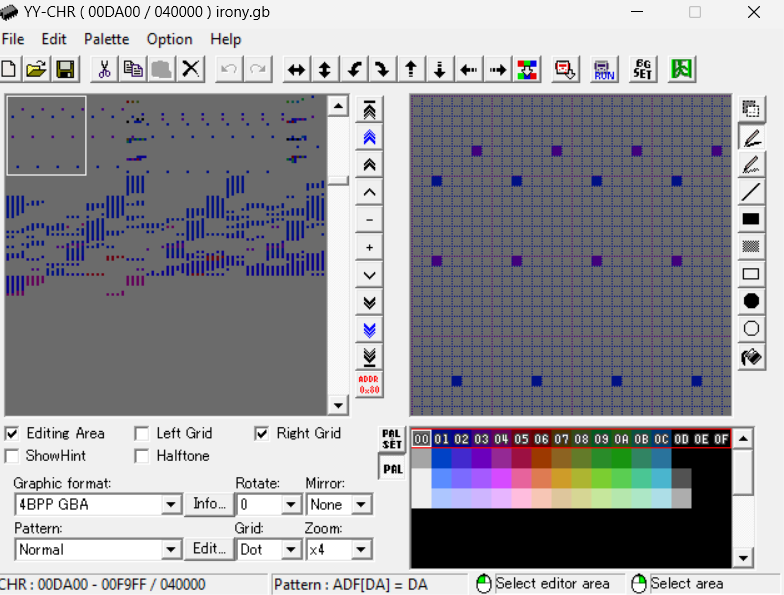
You can also play with the logic and make mario invincible. That, indeed requires a disassembler and maybe a debugger too. Well, how exactly does it look like?
Game Boy Assembly
It's a little bit different from modern architecture assembly. In short, we have 7 GPRs (General-Purpose Registers): a, b, c, d, e, h and l. Each store 8-bits. There is a strange representation of these registers that looks like this:
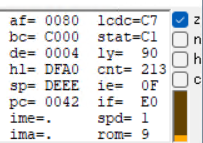
It might look scary but don't you worry. These registers are combined together for efficiency. For example, if you modify the bc register, both b and c registers are affected. An exception is that a register (Accumulator) doesn't pair up with any register. And pc is simply the instruction pointer.
Then we have 4 flags: z, n, h and c. The Zero (Z) flag is set when an operation results in zero. The Negative (N) flag indicates if the last operation was a subtraction. The Half Carry (H) flag is set when there is a carry from 3rd bit to 4th bit (That's why it's called half) in an operation. And the Carry (C) flag shows if there was a carry out of the MSB (Most significant bit) during addition or a borrow during subtraction.
To make conditional jumps, we use these flags. For example: JP Z, $1234: This instruction jumps to the address 1234 if the Zero flag is set. Same with the rest.
Some general instructions work like:
- ld a, b: Load b to a
- ldi a, b: Load b to a and increment a by 1.
- ld a, (bc): Same load operation but brackets are for dereferencing the bc register pair.
- jr Z, offset: Jump relative to offset if Z flag is set.
- sub c: Basically, it does a -= c and sets flags accordingly.
The rest is similar to modern assembly. I don't want to go into much detail so you can check this out for an extensive tutorial: https://gbdev.io/gb-asm-tutorial/part1/setup.html
Back to the CTF
As i don't have a Game Boy console, i used an emulator called mGBA. Opened the game and started playing. It's kinda fun game to be honest.
I found a gardener while walking down the path:
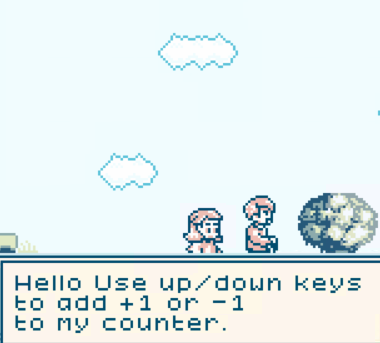


After exploring the game a bit, i started to get an idea of what to do in order to get the flag. Here's the legendary cat that i have found:



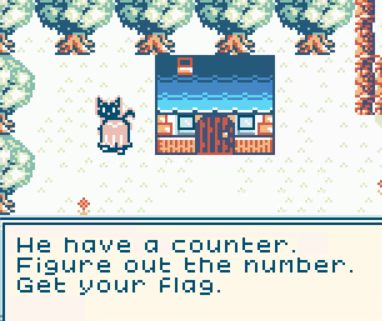
Welp, we know what to do now.
So firstly, i used the search memory tool from Tools section. A cool feature from mGBA.
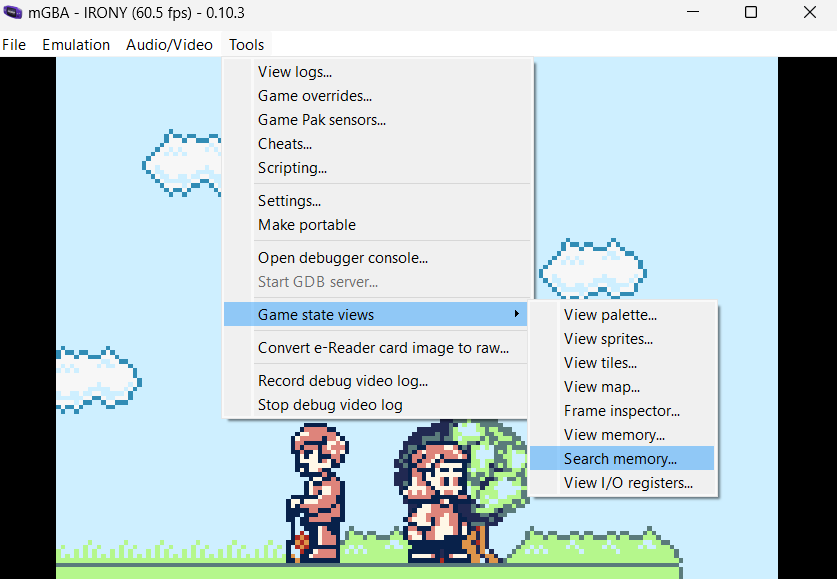
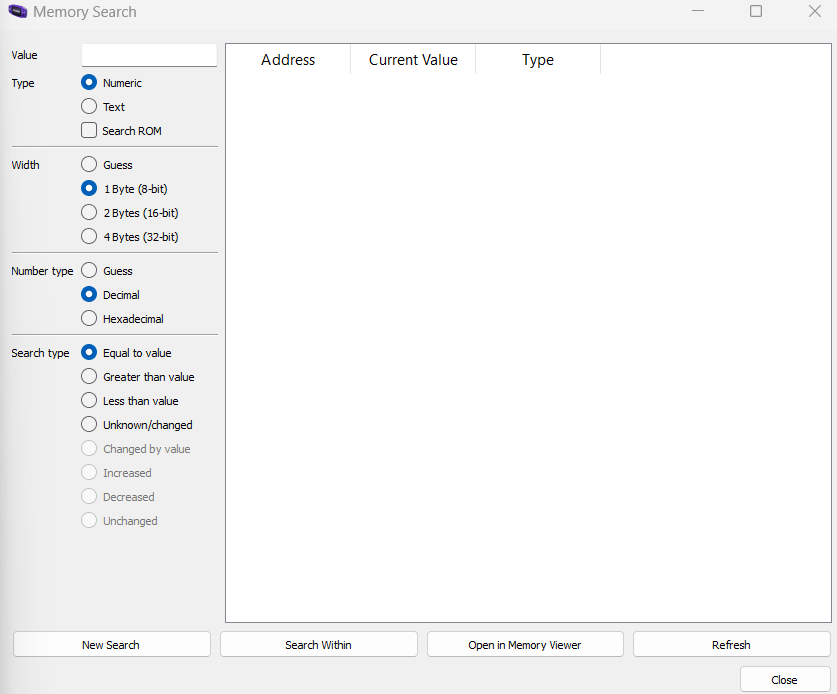
And now, we need to increment the counter with up arrow key and search for the value in memory.
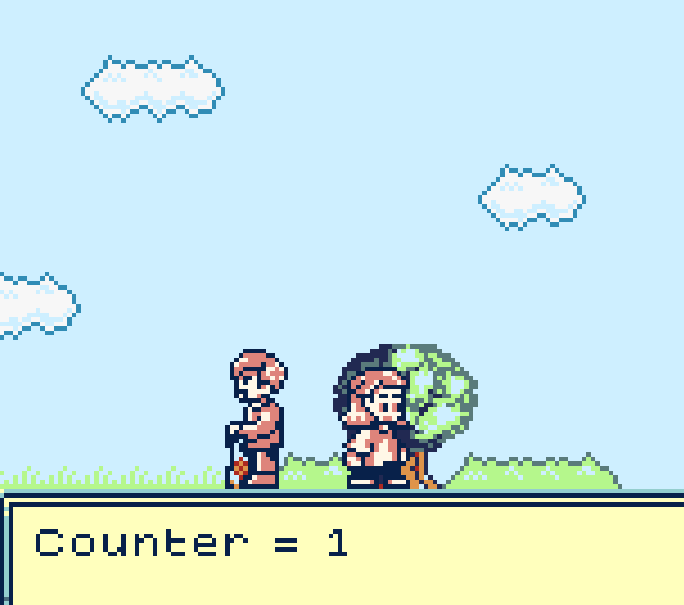
Counter is now 1, let's search it with the New search button. For now, i am going to search for 1 byte long value because it's not really a big number. Then we increment the counter and "Search Within" the value 2. We are going to do it until we get these addresses:

So i tried to change the 0xcbb5 address with memory viewer and it worked. We have found the counter address. It's a 2 bytes-long variable because of the architecture.
But now we don't know where the check mechanism is at.
I tried to find a static disassembler on github. And i found this mGBdis python script. But damn, it was literally a mess.
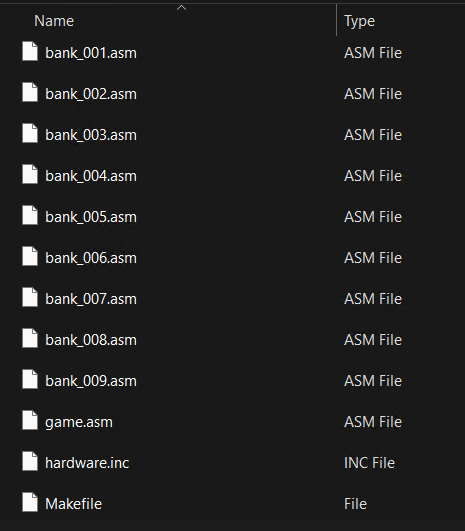
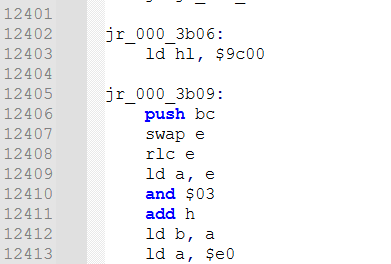
I'm not reading 12k lines of assembly code (not that crazy yet), so a debugger would be neat. I am going with BGB Debugger, but you can use your favorite. After opening, let's press ESC and go to the to the 0xcbb5 address in the memory map with CTRL + G. We can verify that it is the counter address once more by experimenting with the values.
Everything is fine so far. But when we go near the gardener and open a dialog, we see that the counter has been reset. It's perhaps made to avoid fuzzing the counter. That means we need to set the counter again before the check happens.
We know it checks the counter right before the "I won't give the flag" dialog. So after skipping the first dialog, we are going to put a readpoint and find the check mechanism.
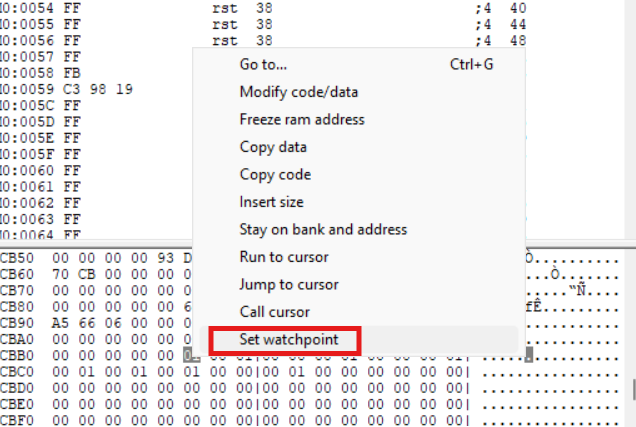
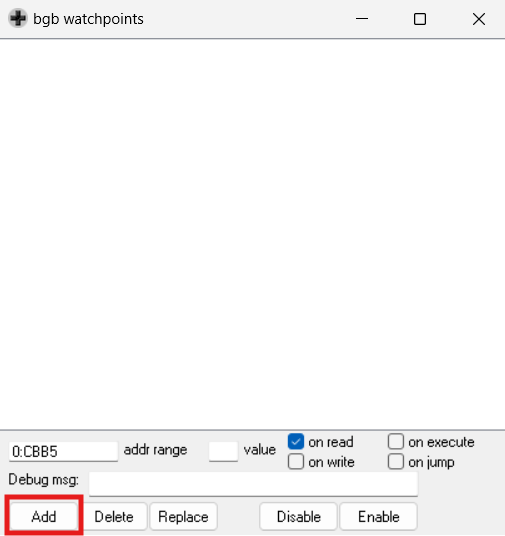
Skipping the dialog should trigger the breakpoint. Now we can see how the check works:

Firstly, it loads (hl) to a register and increments a by 1 which is our counter's second byte address, then moves to c register. And it also loads the (hl) to b register afterwards, which is the initial byte of our counter. Now our counter is stored in both b and c registers. If we look at the code with the red frame, we see that sp + 12 is loaded into a register and subtracted by c register with sub a instruction. If the result is zero, then the zero flag is set. And it means the flag's initial byte is valid. Then it increments hl to check the second byte of the flag and the counter.
So here, our flag is stored at the address sp + 12 (DED5 + 12 = DEE7). Let's go to that address and look for the number in the memory dump section.

Yep, here it is. After modifying the counter value with 2F 78, we finally get the flag! (Remember to modify it after the first dialog because the counter was reset.)

Final thoughts
It was a pretty enjoyable challenge that focused on game hacking. Sure it was very nostalgic. Throughout the journey, I discovered various intriguing places, which you can see in the images below:


